Journal
Project Reveal - Noosa Heads Project PART I: Kitchen, Laundry & Bathroom
November 21, 2022
Coming red-hot to you with another recently-completed project is the Noosa Heads holiday home!
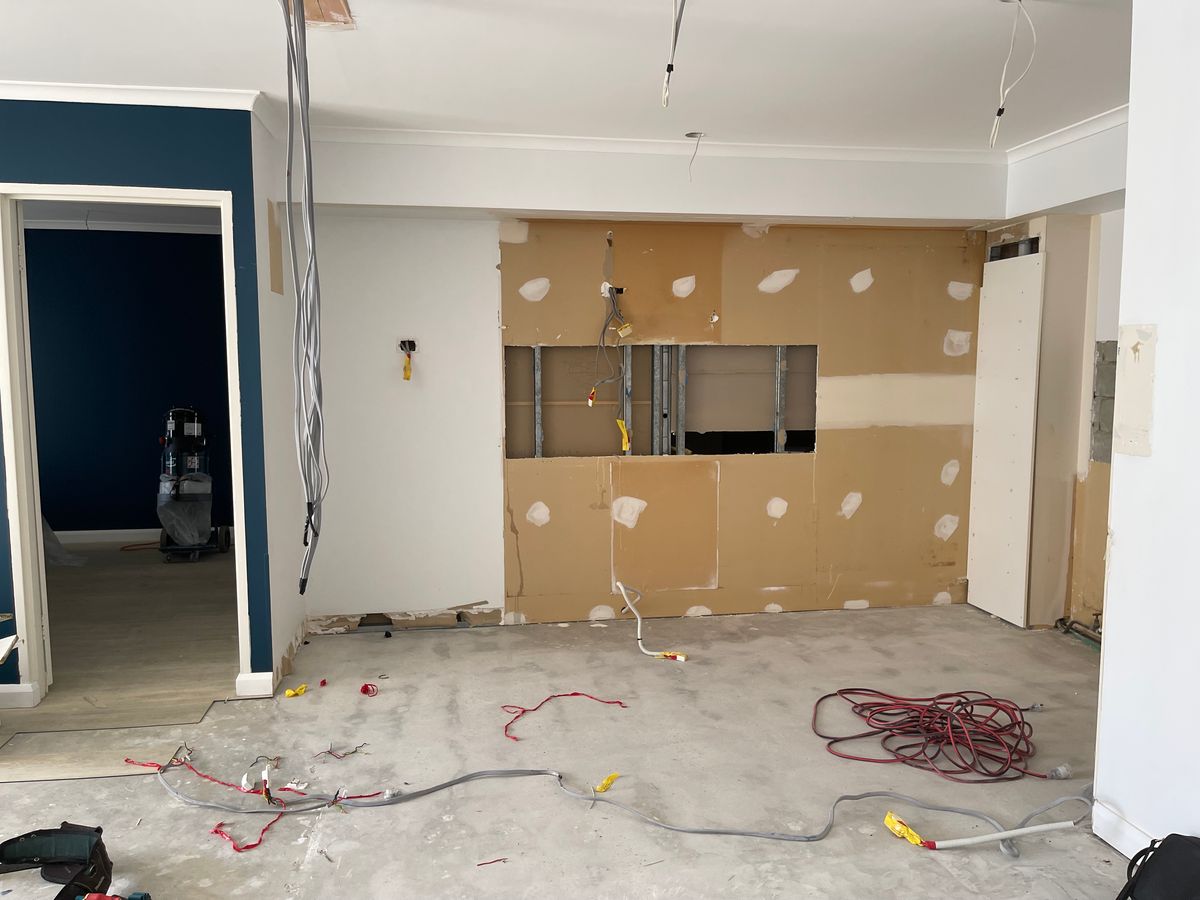
When our client engaged us to help her transform this tired coastal apartment we leapt at the chance to get our fingers on a project by the beach. Upon our first site visit we were quickly met with popcorn ceilings (yum yum!), bold feature walls, dated lighting fixtures and angled walls - seriously, almost every wall was on a random angle!
As this was purchased by our client as an investment property, with a view to lease out the apartment when not occupied by friends and family, we went in with a smaller renovation in mind with the intention of making a few smaller cosmetic changes to the main living spaces: kitchen, living room and bathrooms. However, the more our client visited the apartment, the more she realised the potential it had and thus came a full apartment renovation - with a full kitchen renovation, bathroom renovation, laundry renovation, new flooring, new paint, and of course the introduction of new furniture and accessories.
Being a coastal holiday apartment, we wanted to keep the interior contemporary, light and breezy, drawing inspiration for the colour palette from the lush tropical garden surrounds and the ocean views of the nearby Noosa North Shore. Although the scope of the project changed dramatically from the initial brief, we wanted to provide smart and considered choices that provided a value-add for this investment property without blowing the budget.
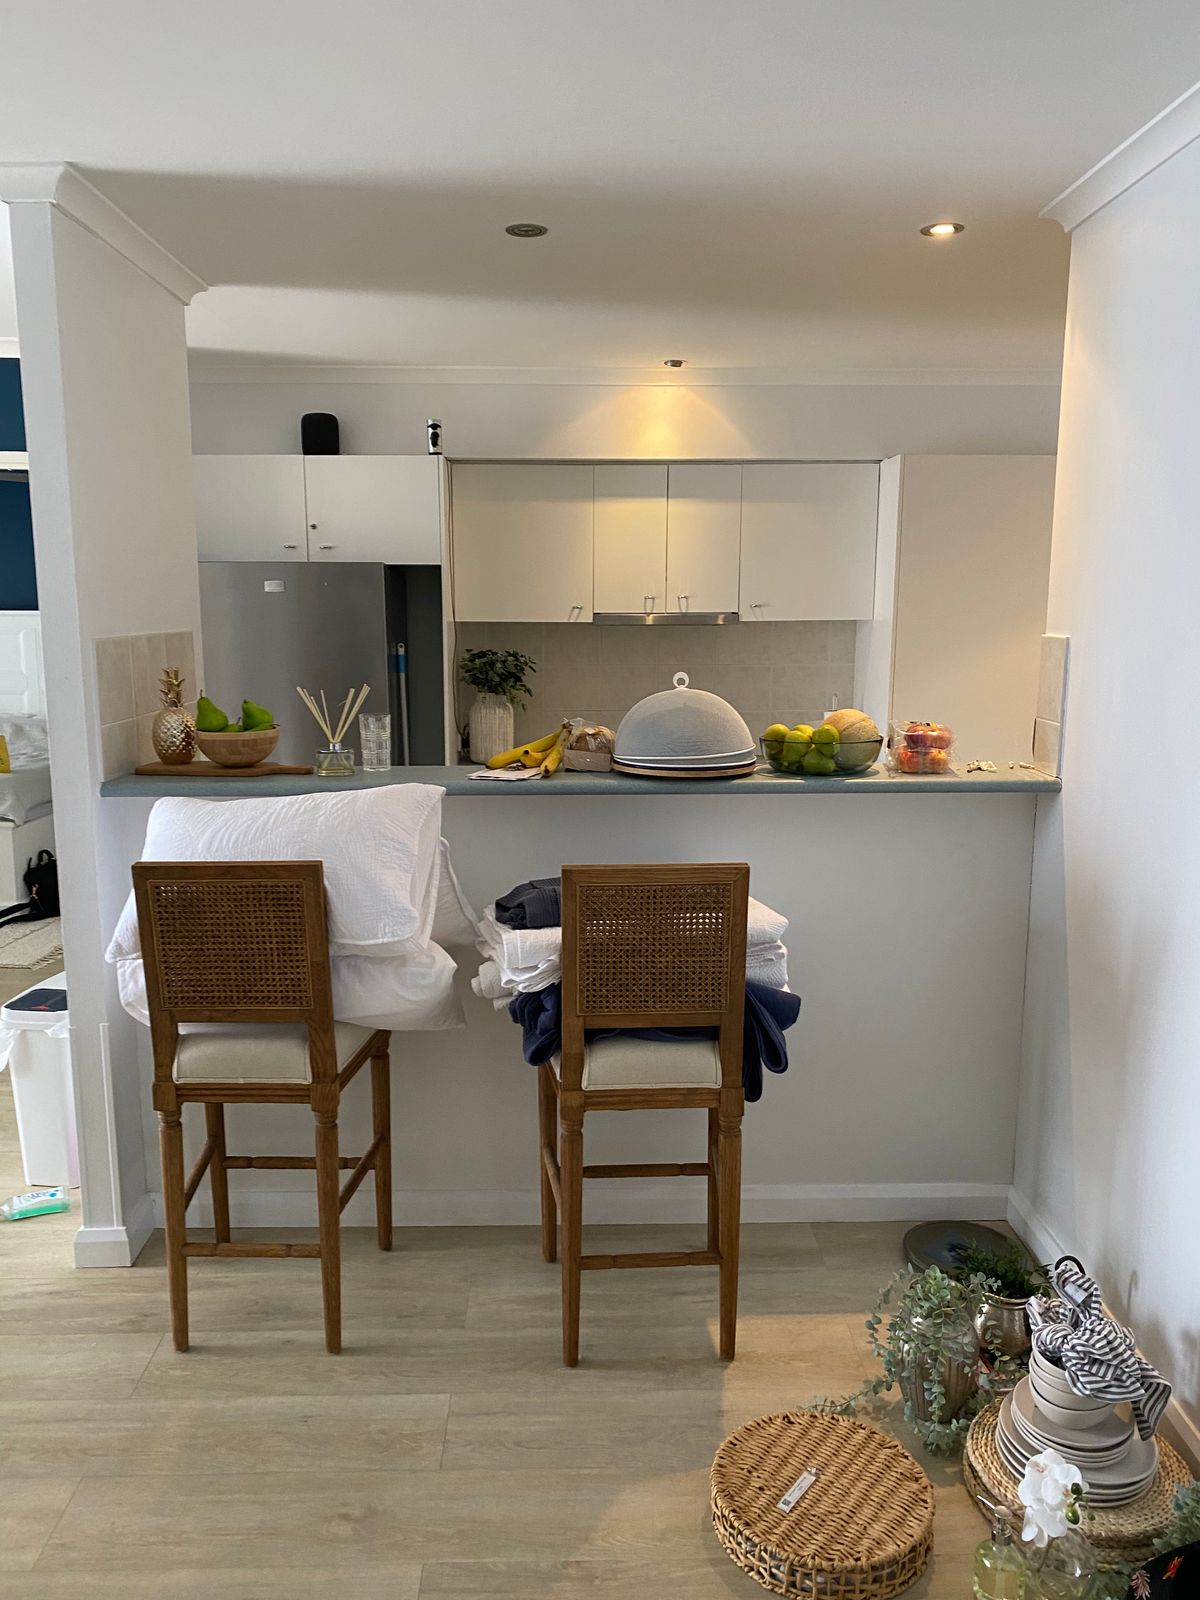
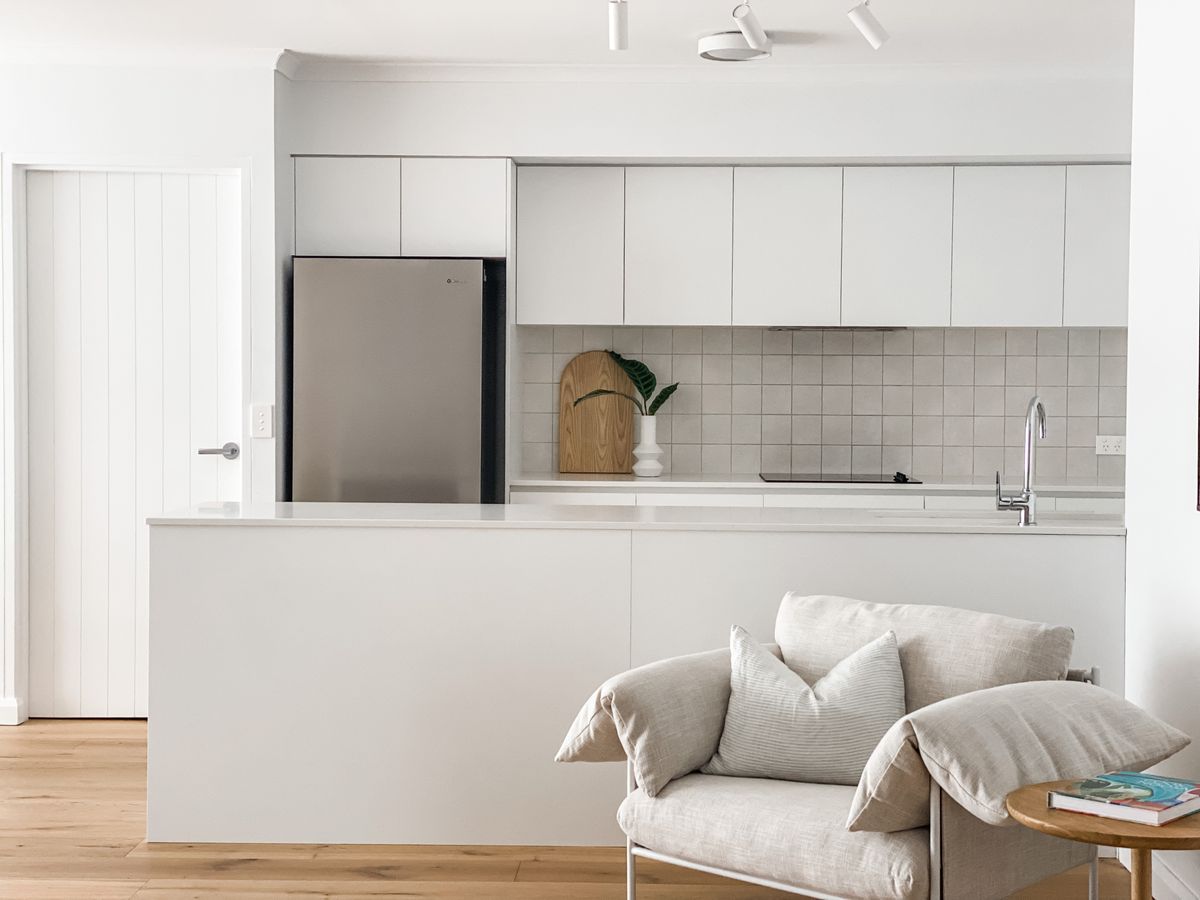
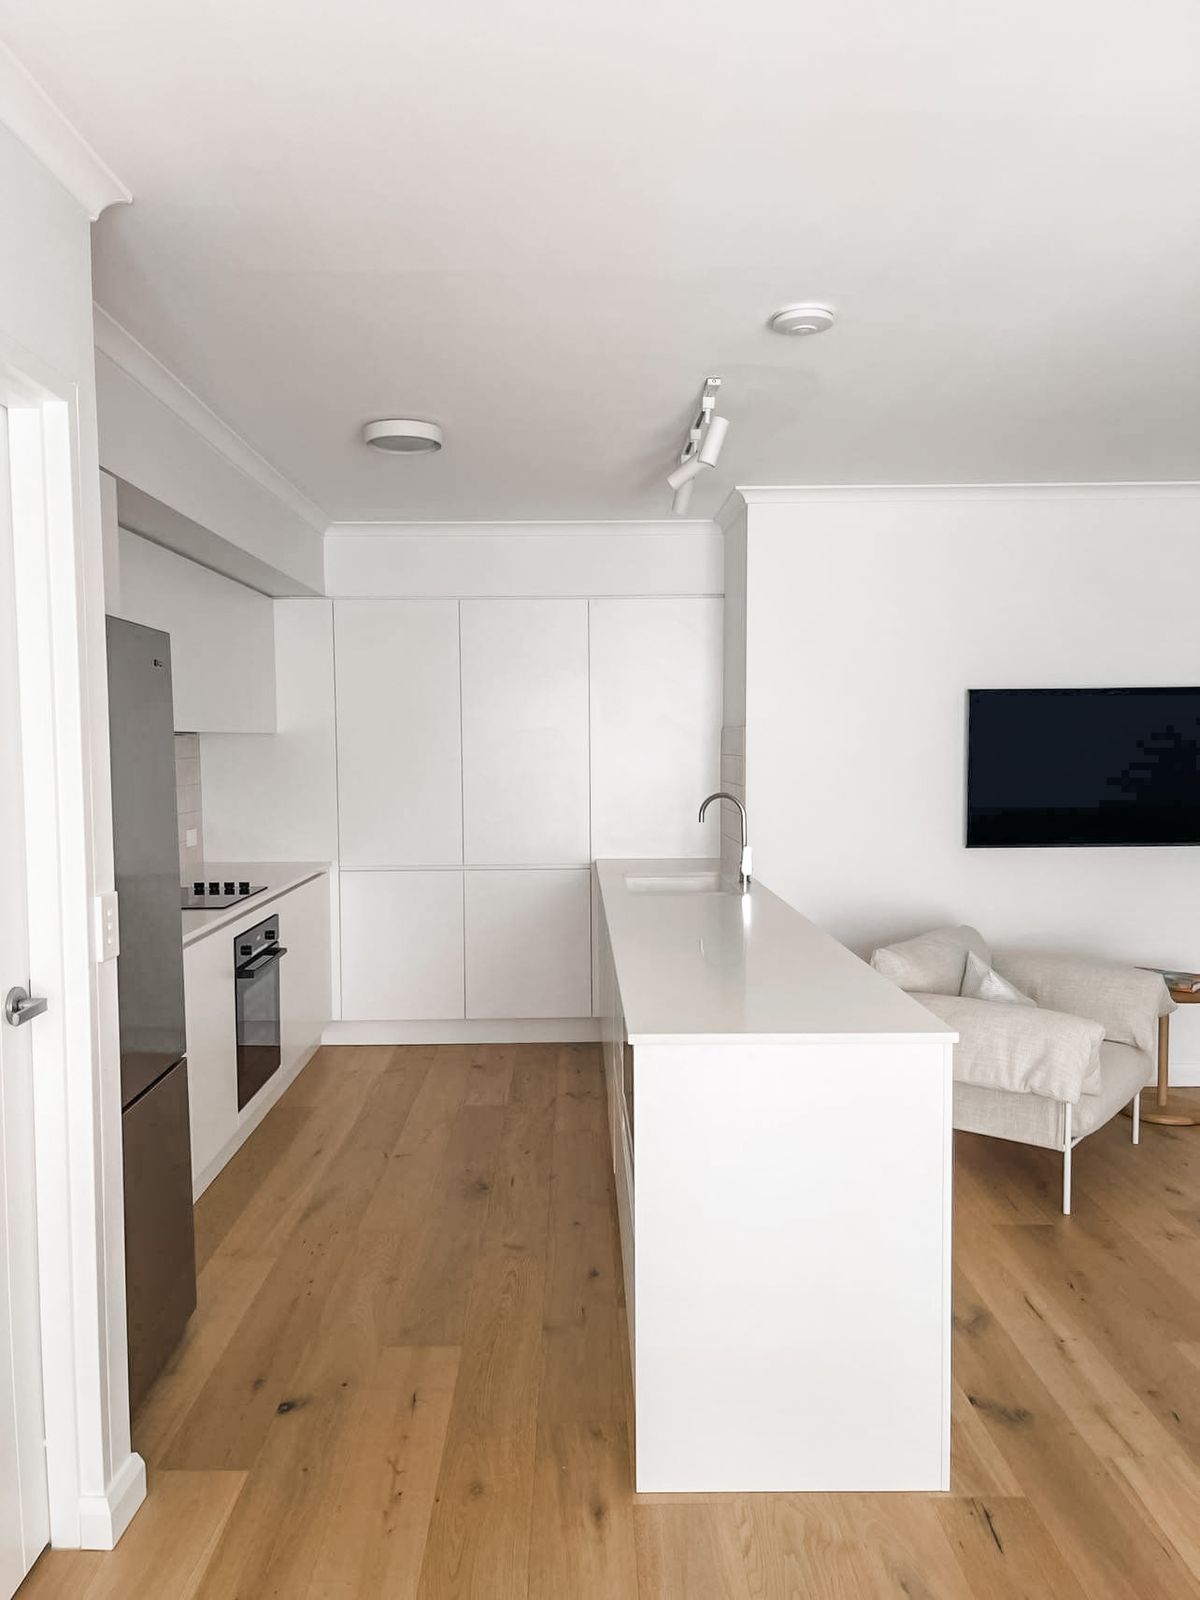
THE KITCHEN MAKEOVER
The main space we wanted to focus on was the kitchen - the hub of the apartment. First thing's first: the green tiles, green laminate, servery and wall partition had to go! We also felt the layout and cabinetry could be improved to maximise function and to also disguise yet another angled wall.
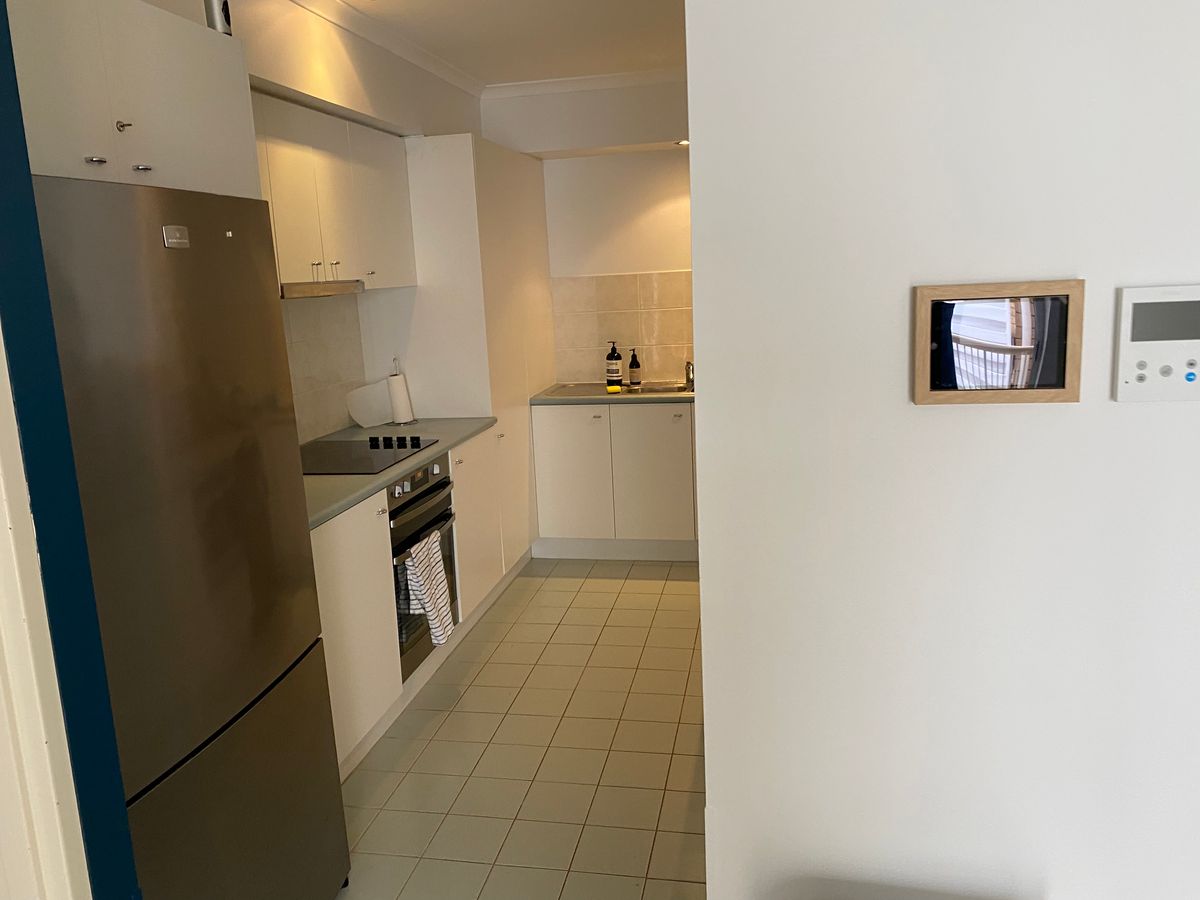
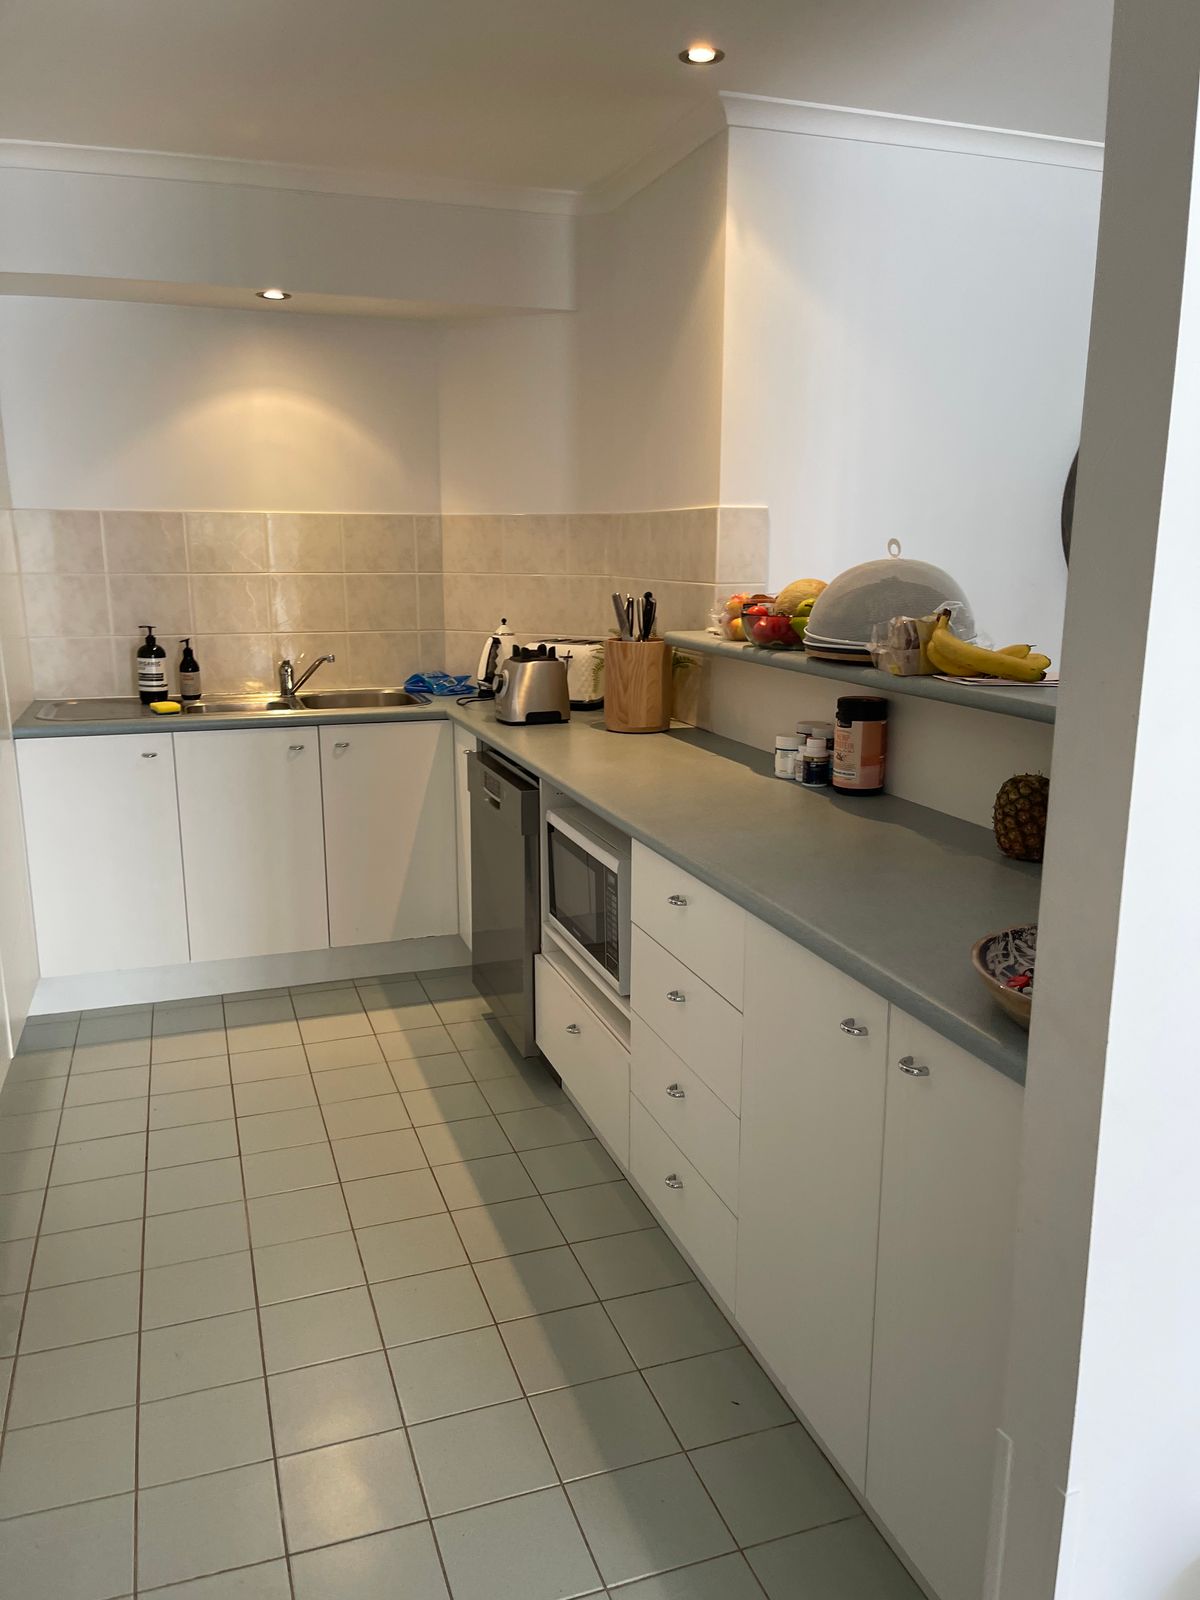
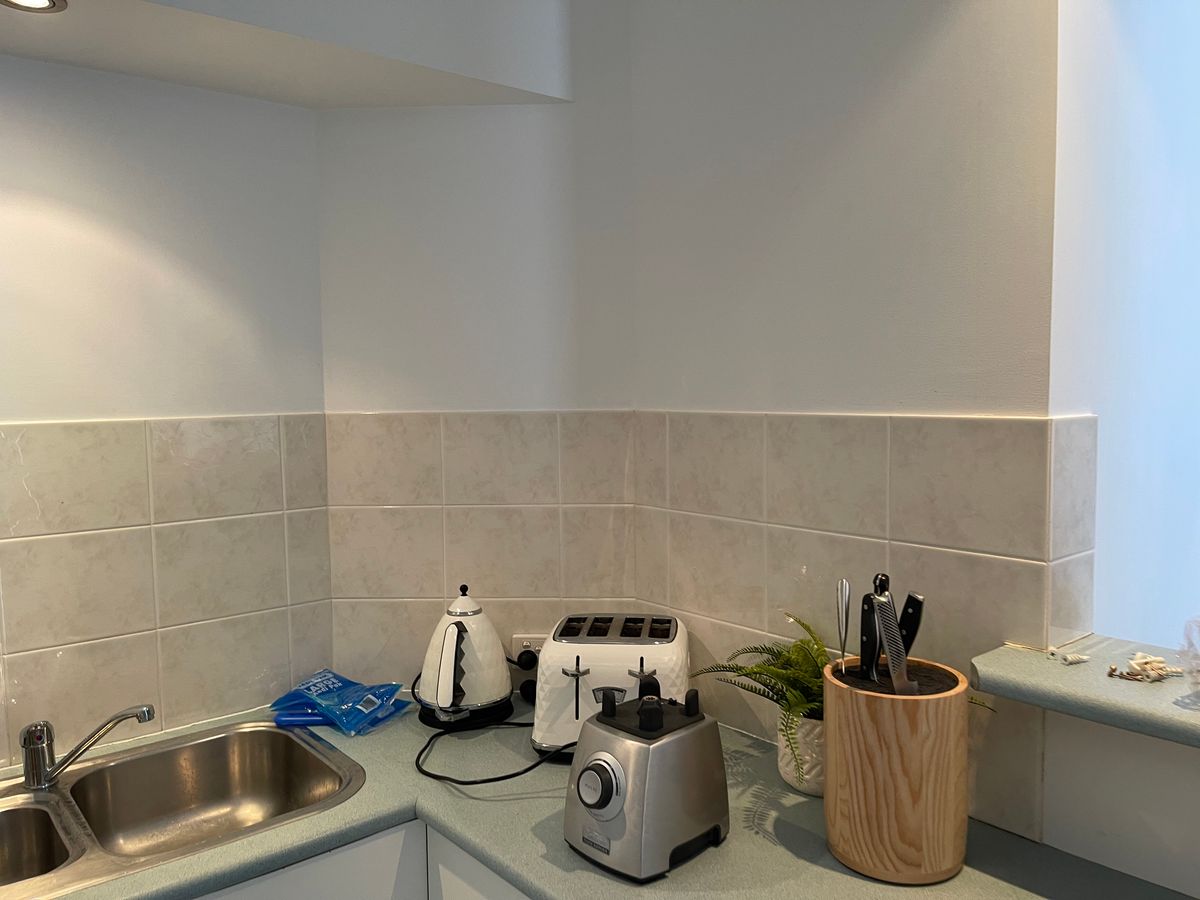
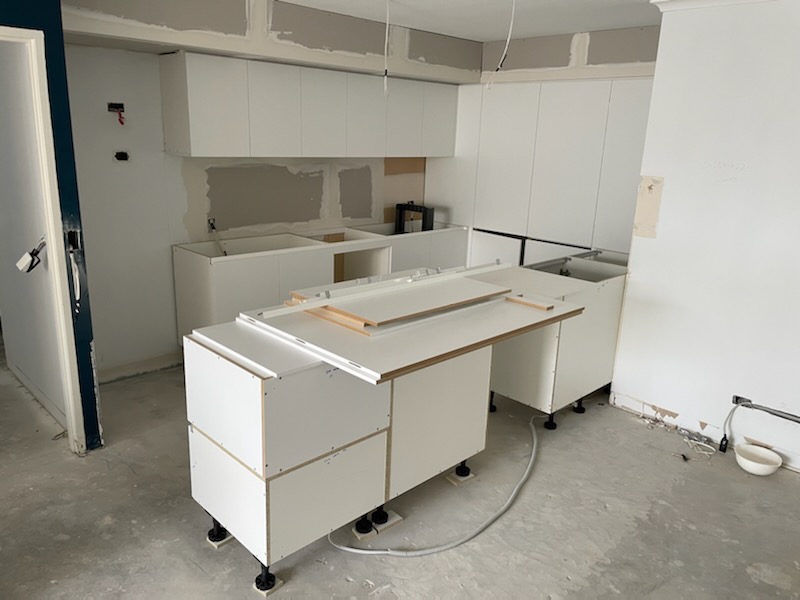
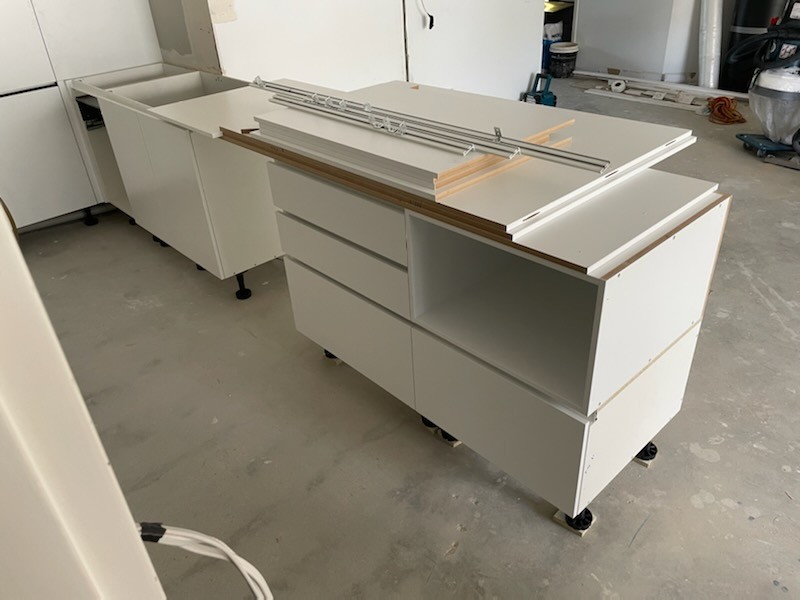
Our goal was to open up the space, so we went with white handleless cabinetry from Starkey & Christoe spanning to the ceiling (well, in this instance, a false bulkhead to make it look seamless), white engineered stone benchtops from Stone Ambassador, and a light neutral zellige tile from Beaumont Tiles for the splashback. Having the new flooring run right through, as opposed to having contrasting tiles like the original, meant a more seamless look that gave the illusion of a larger footprint.
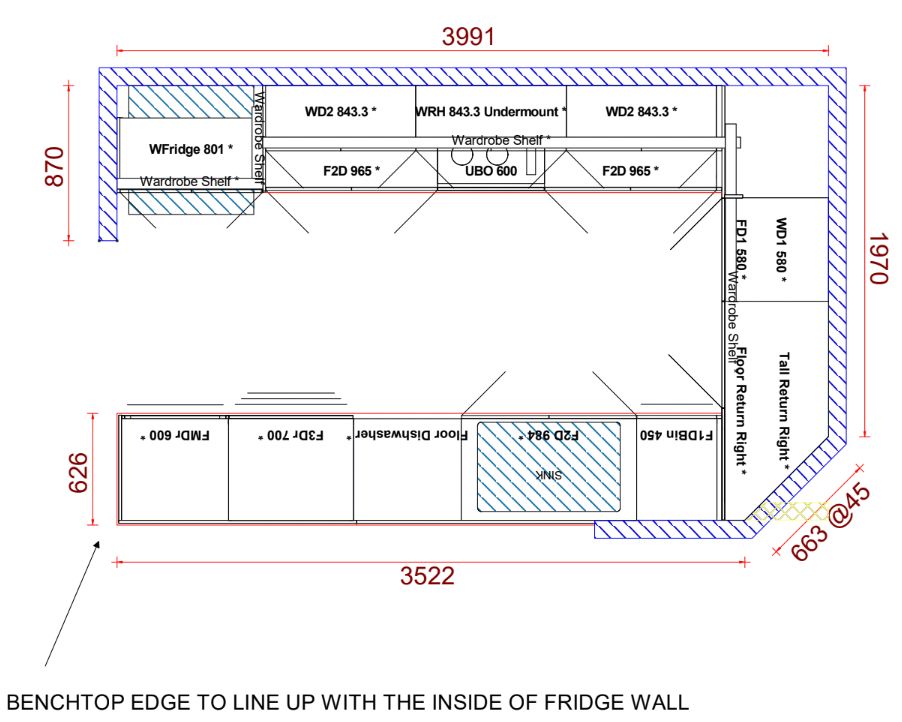
We moved the sink from the far end of the kitchen to the island bench, as its original position - squeezed between two walls - felt dark and cramped. Now with the sink moved, we replaced its old location with the pantry and extra full-length cabinetry to span the full wall, which opened up the bench space beside the stove on the back wall.
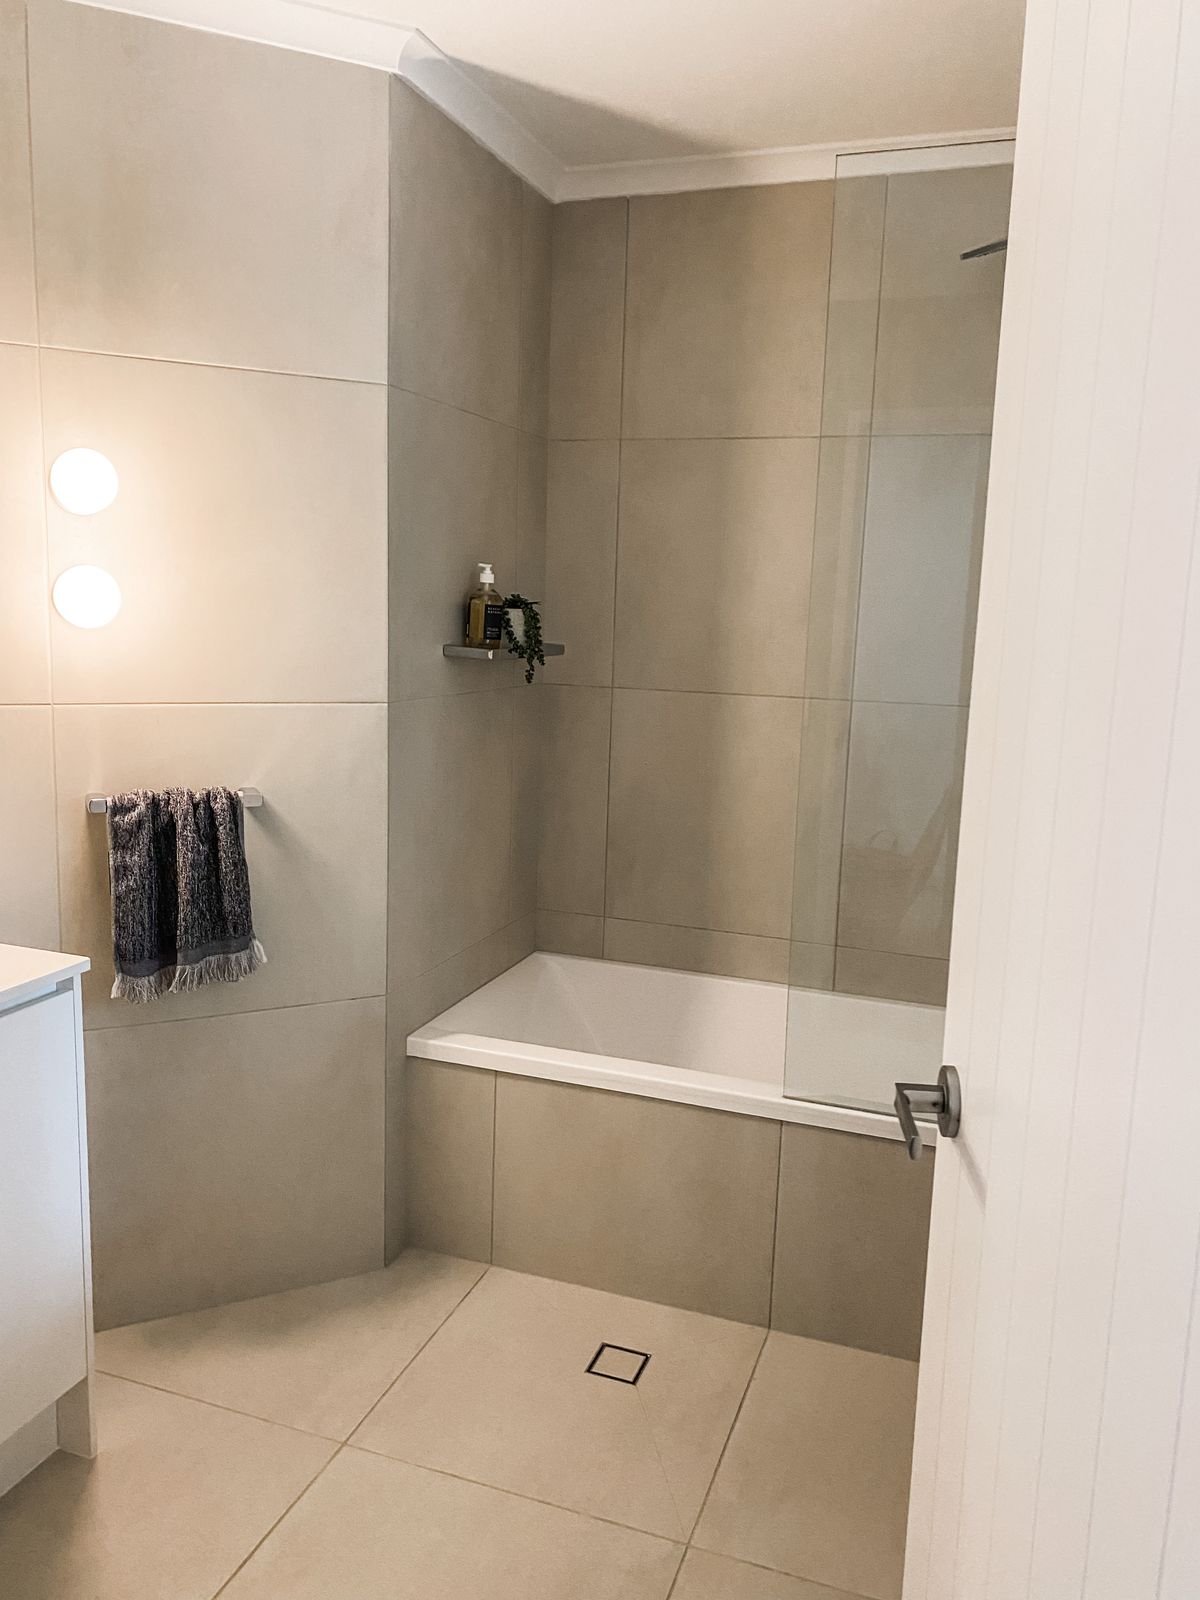
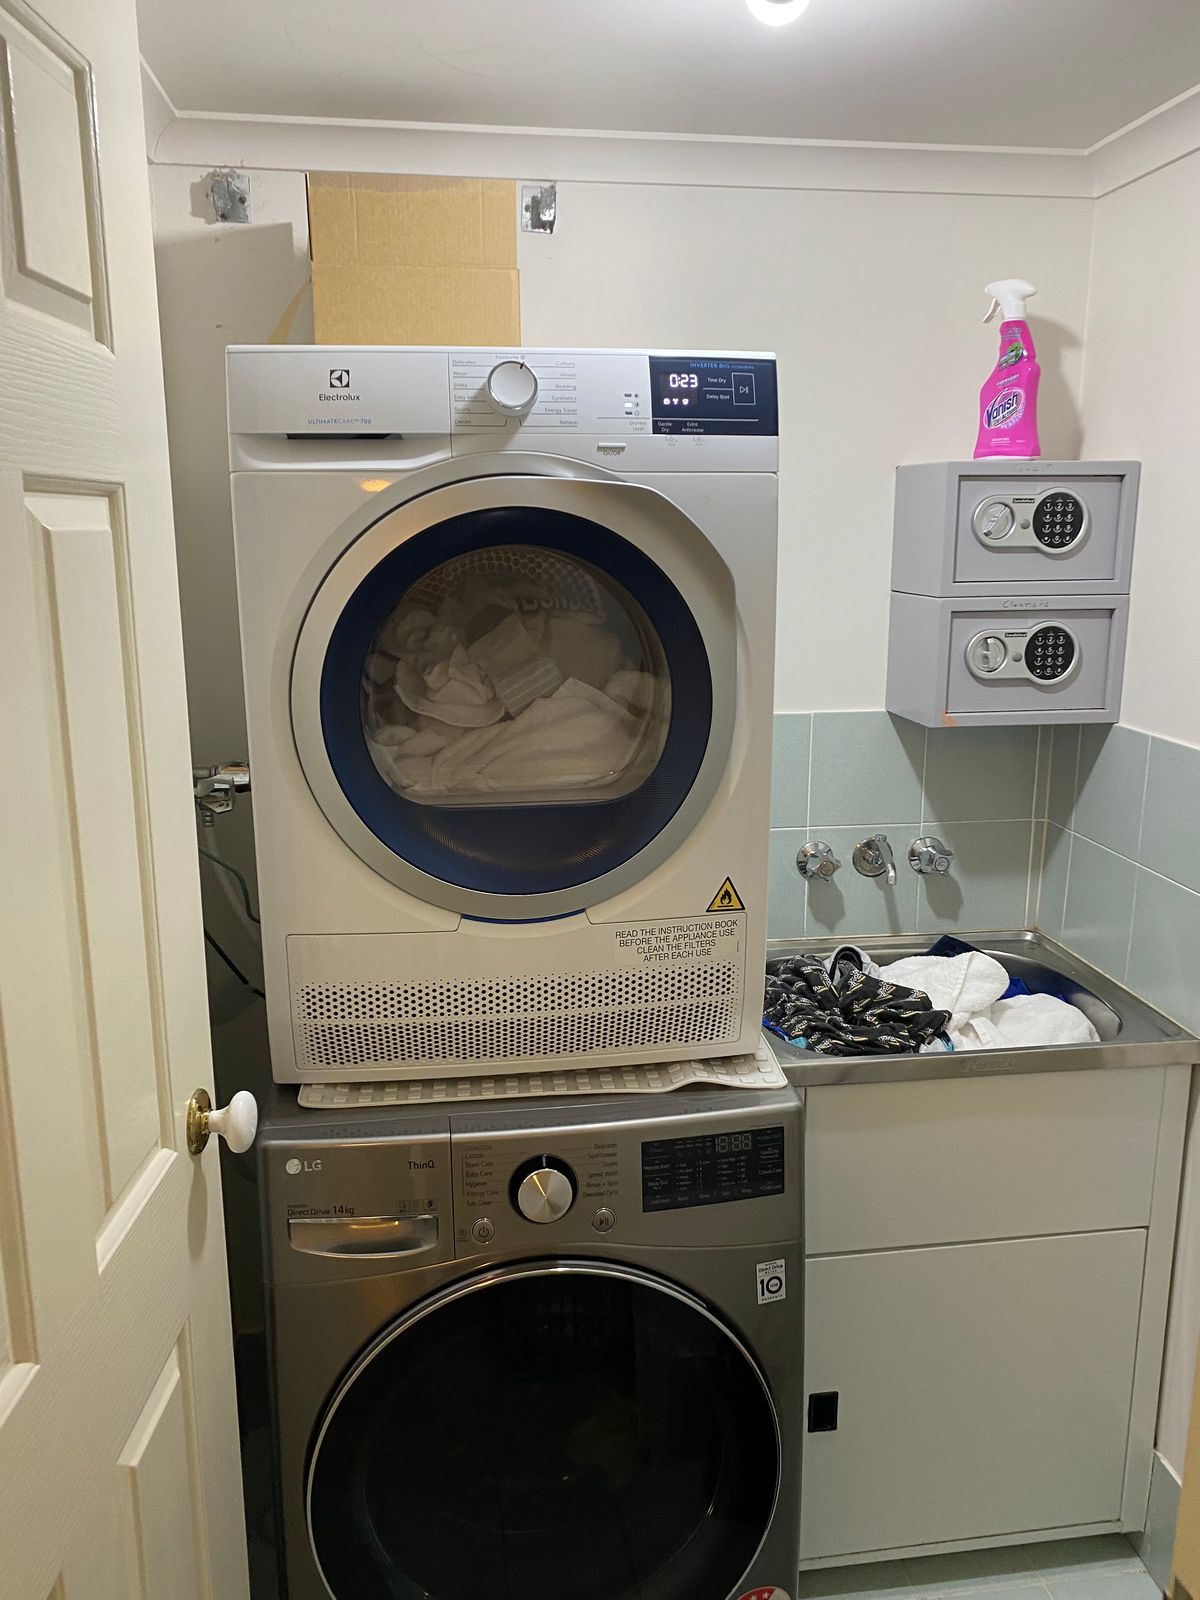
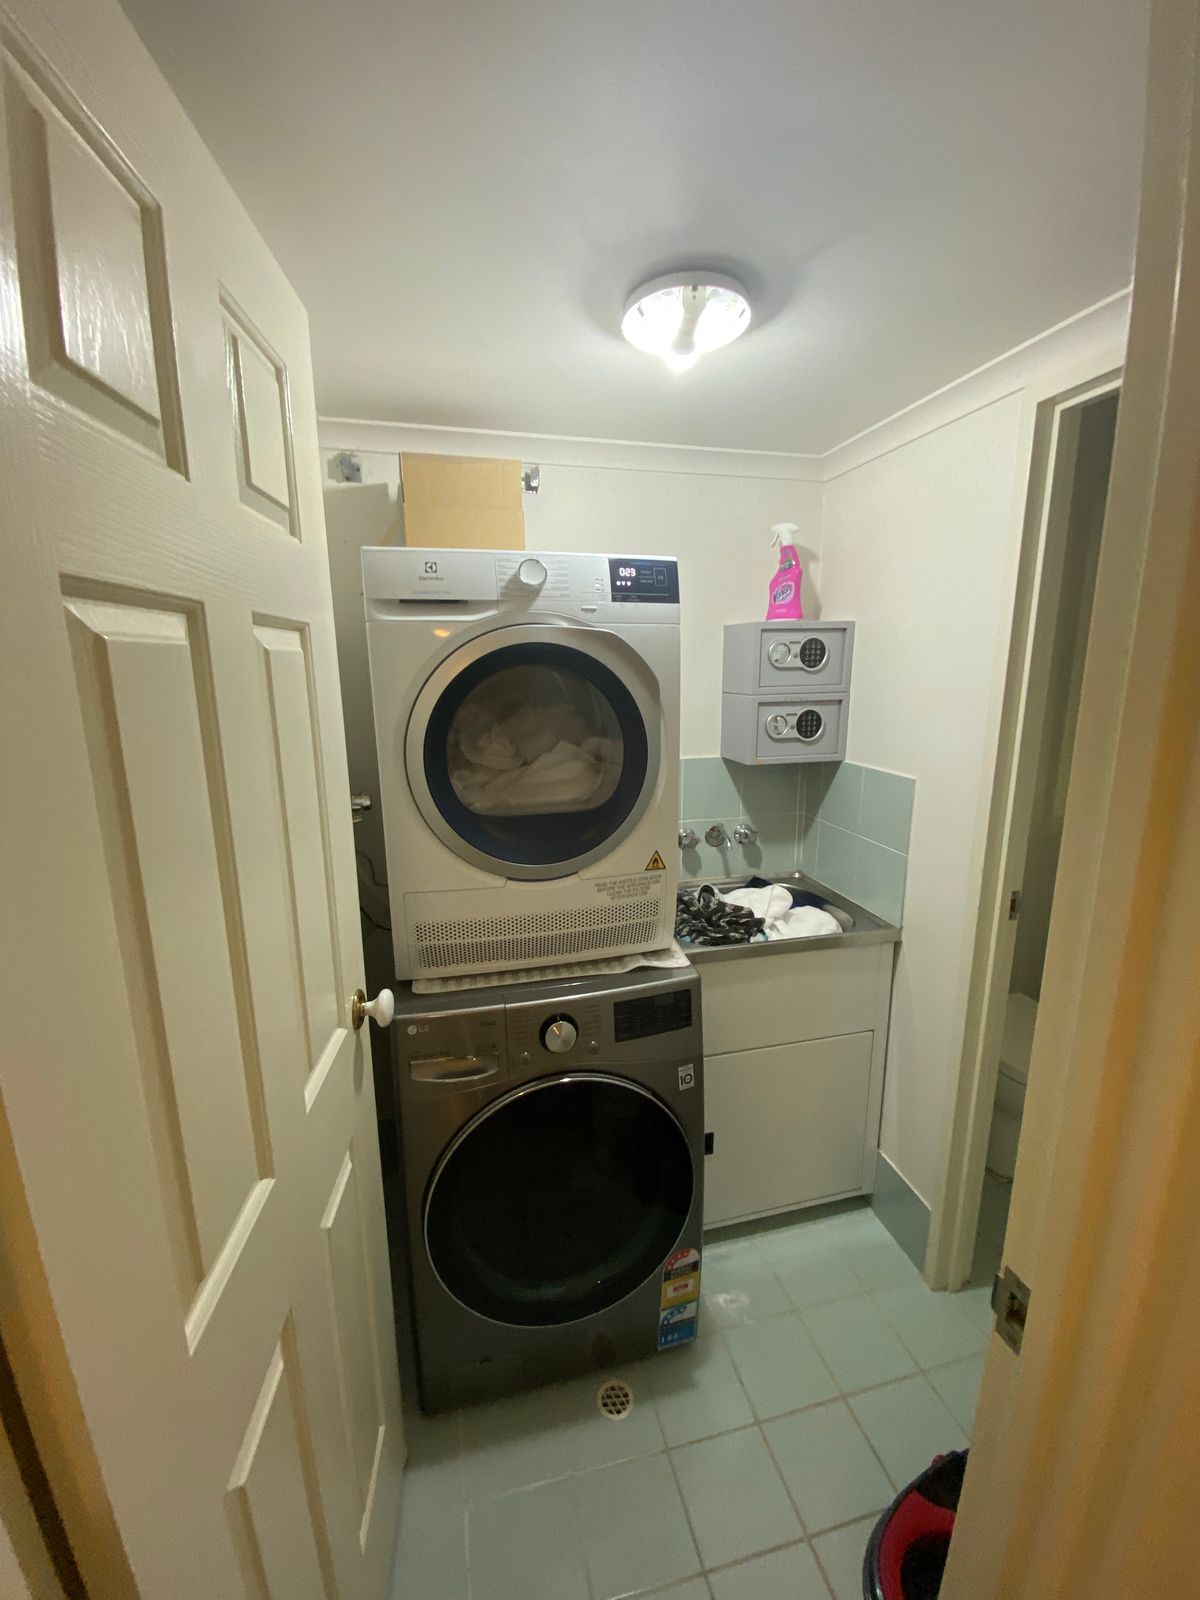
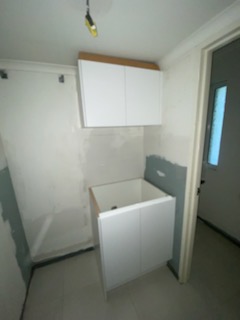
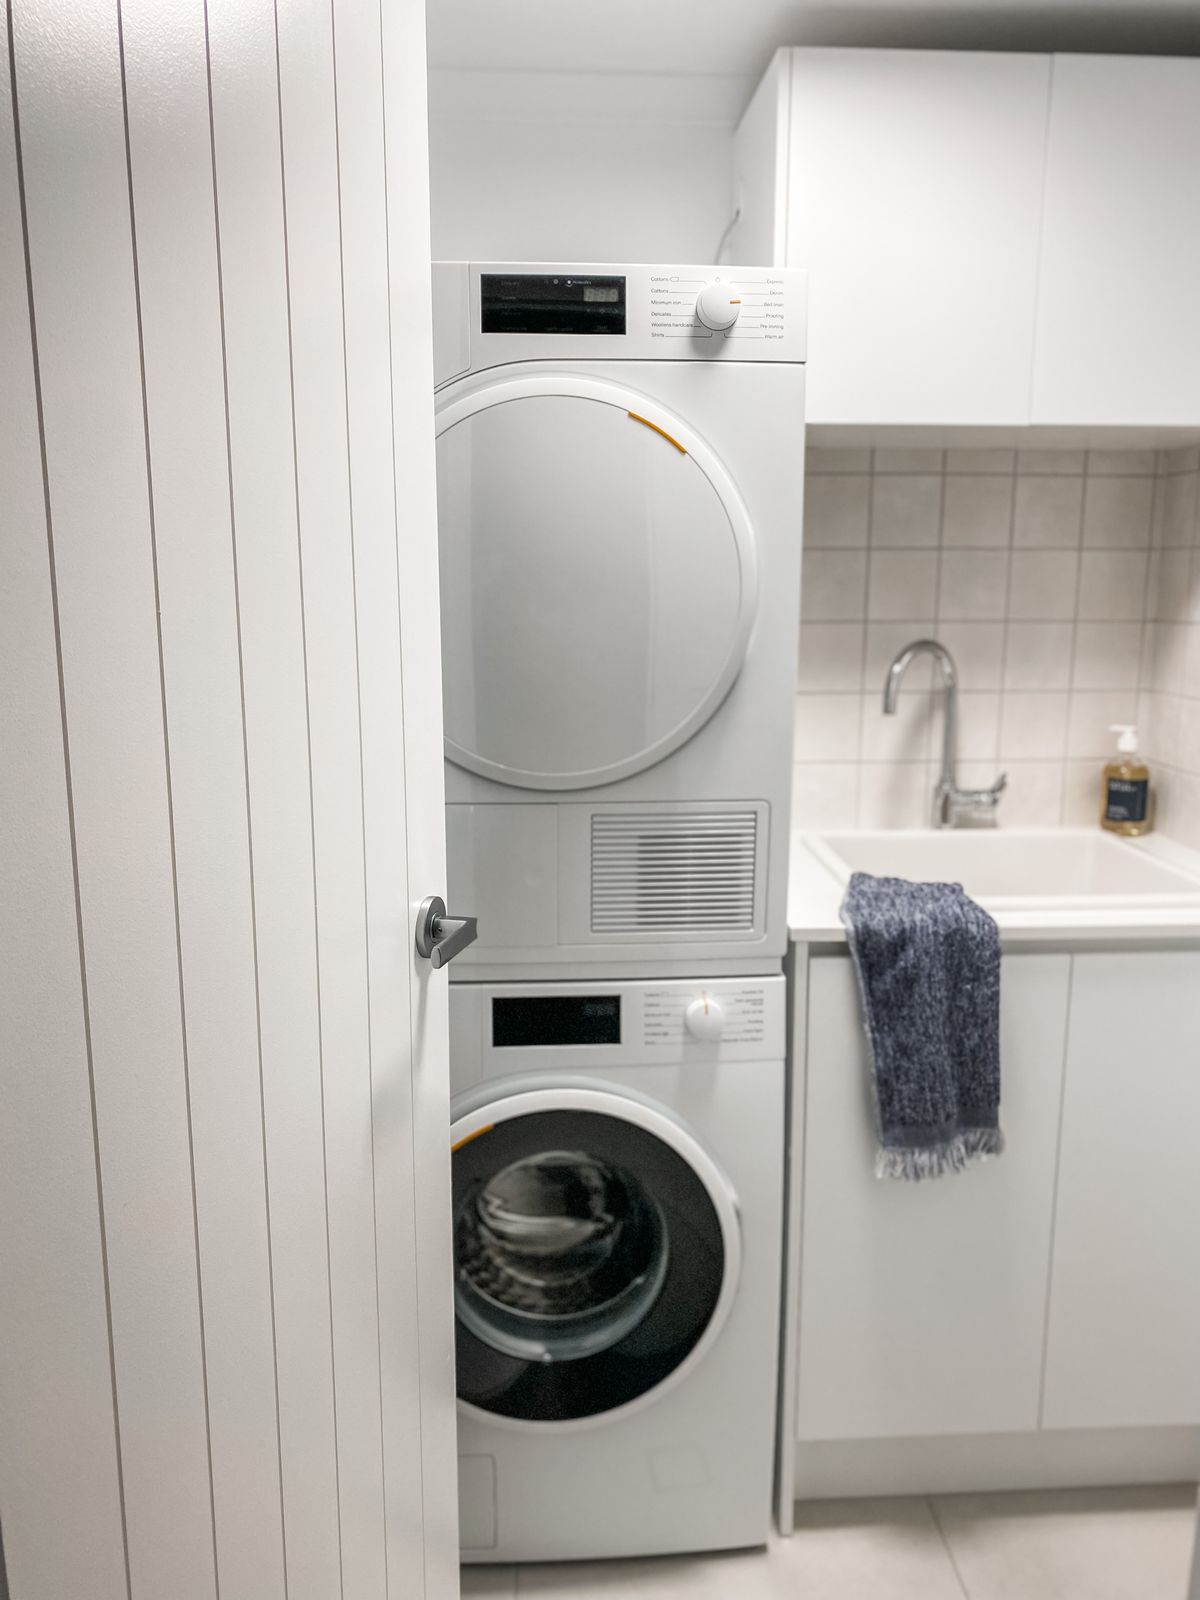
THE BATHROOM & LAUNDRY RENOVATION
To keep things cohesive and also budget-conscious, we decided to continue the same finishes selected for the kitchen through to main bathroom, master ensuite and laundry. These three spaces lacked natural light, so having the light cabinetry and stone stops made a huge difference to the overall feel.
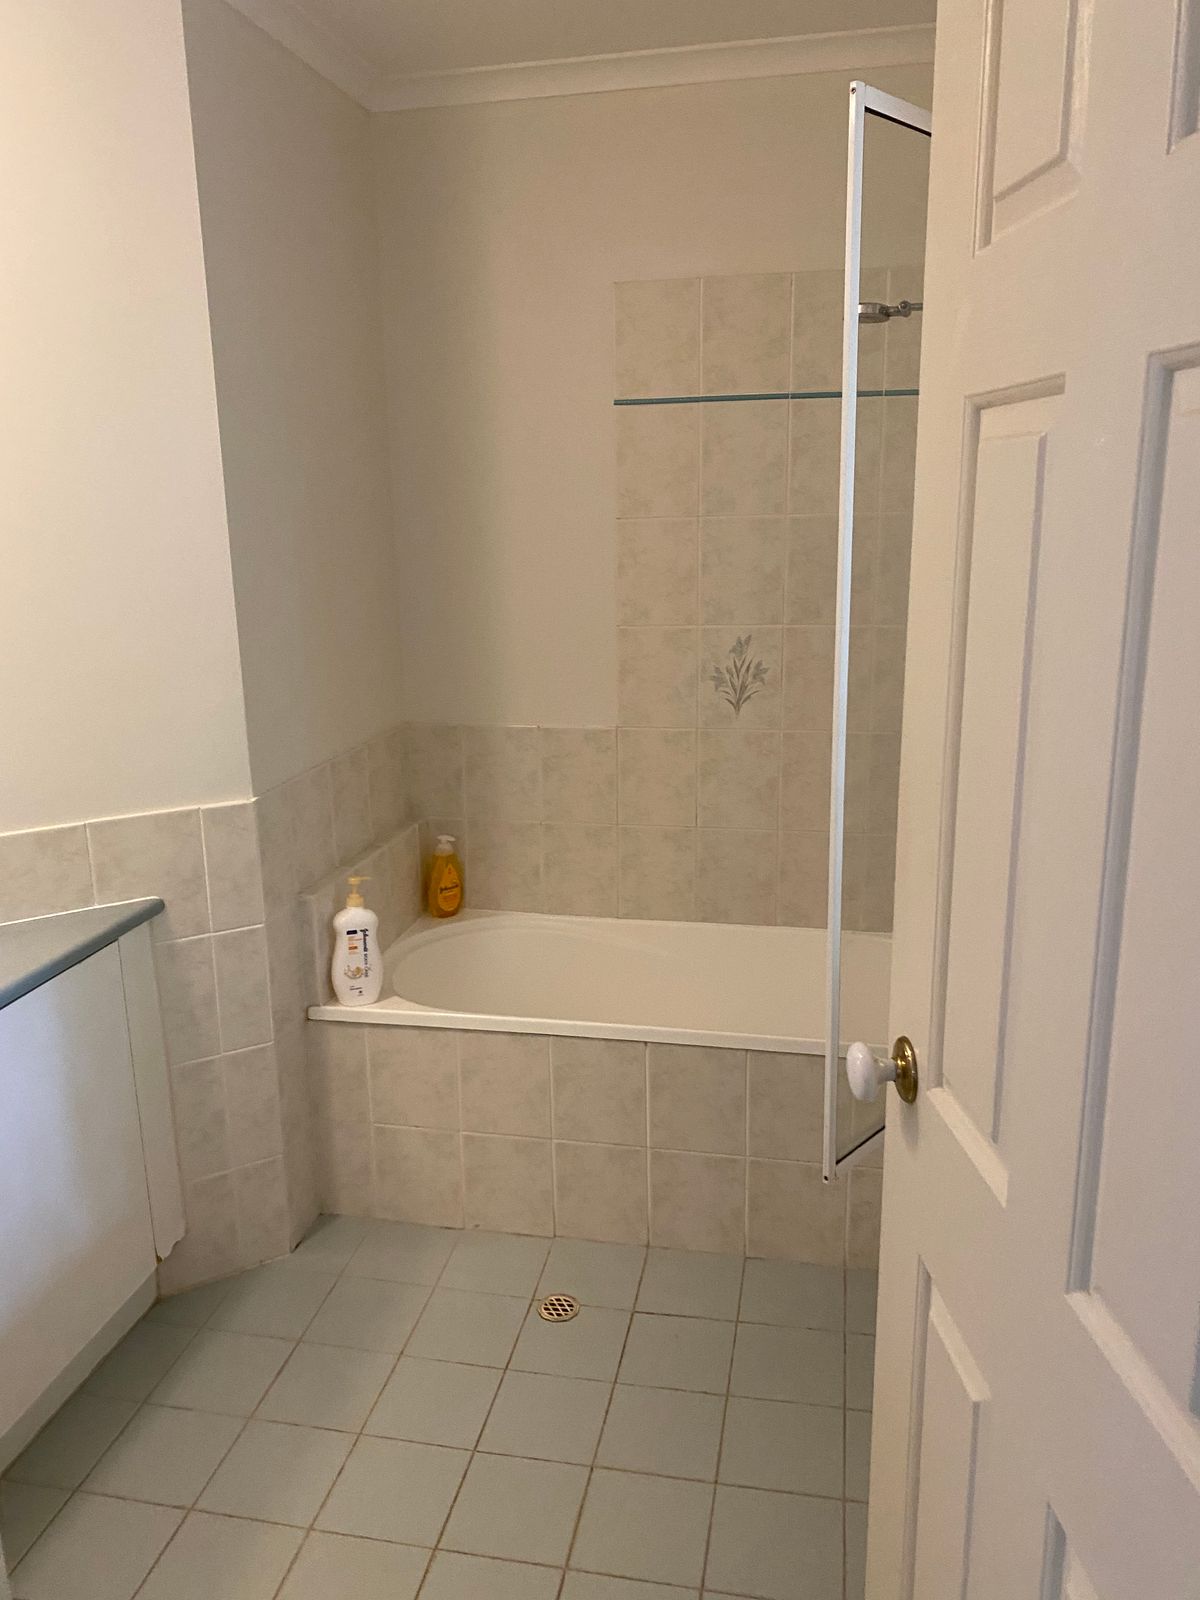
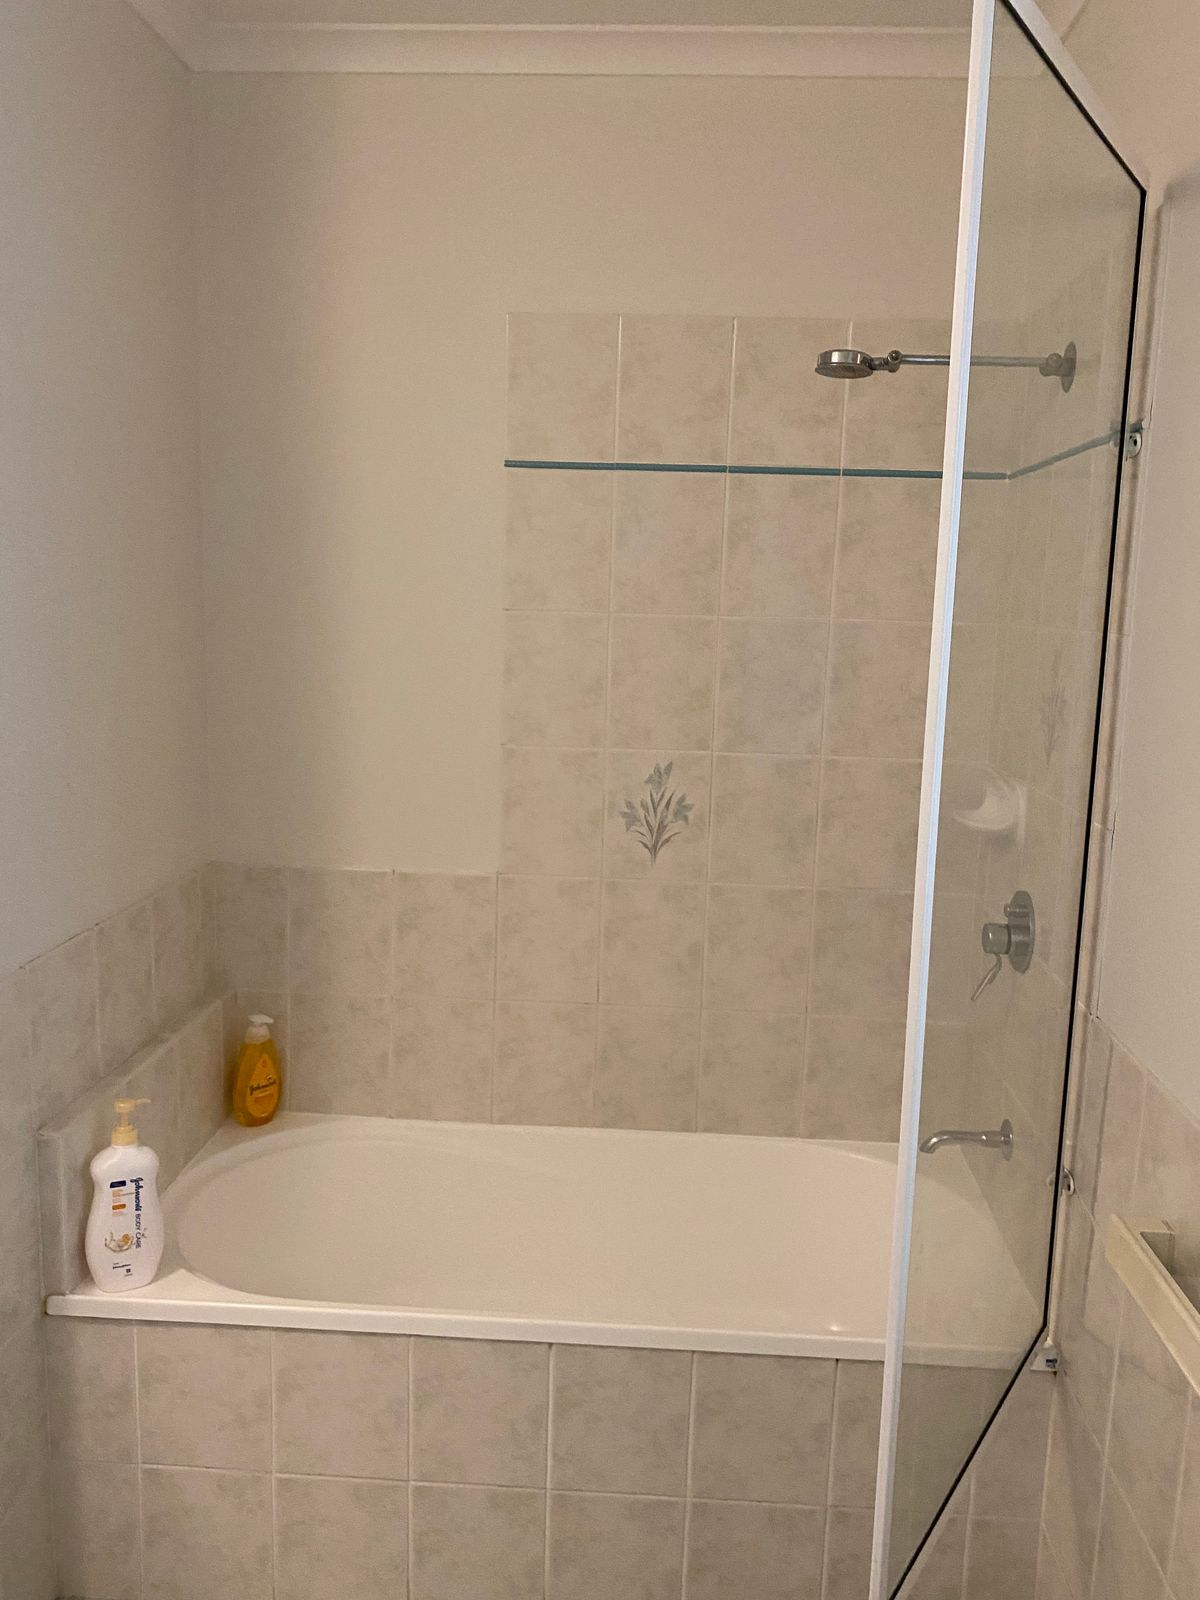
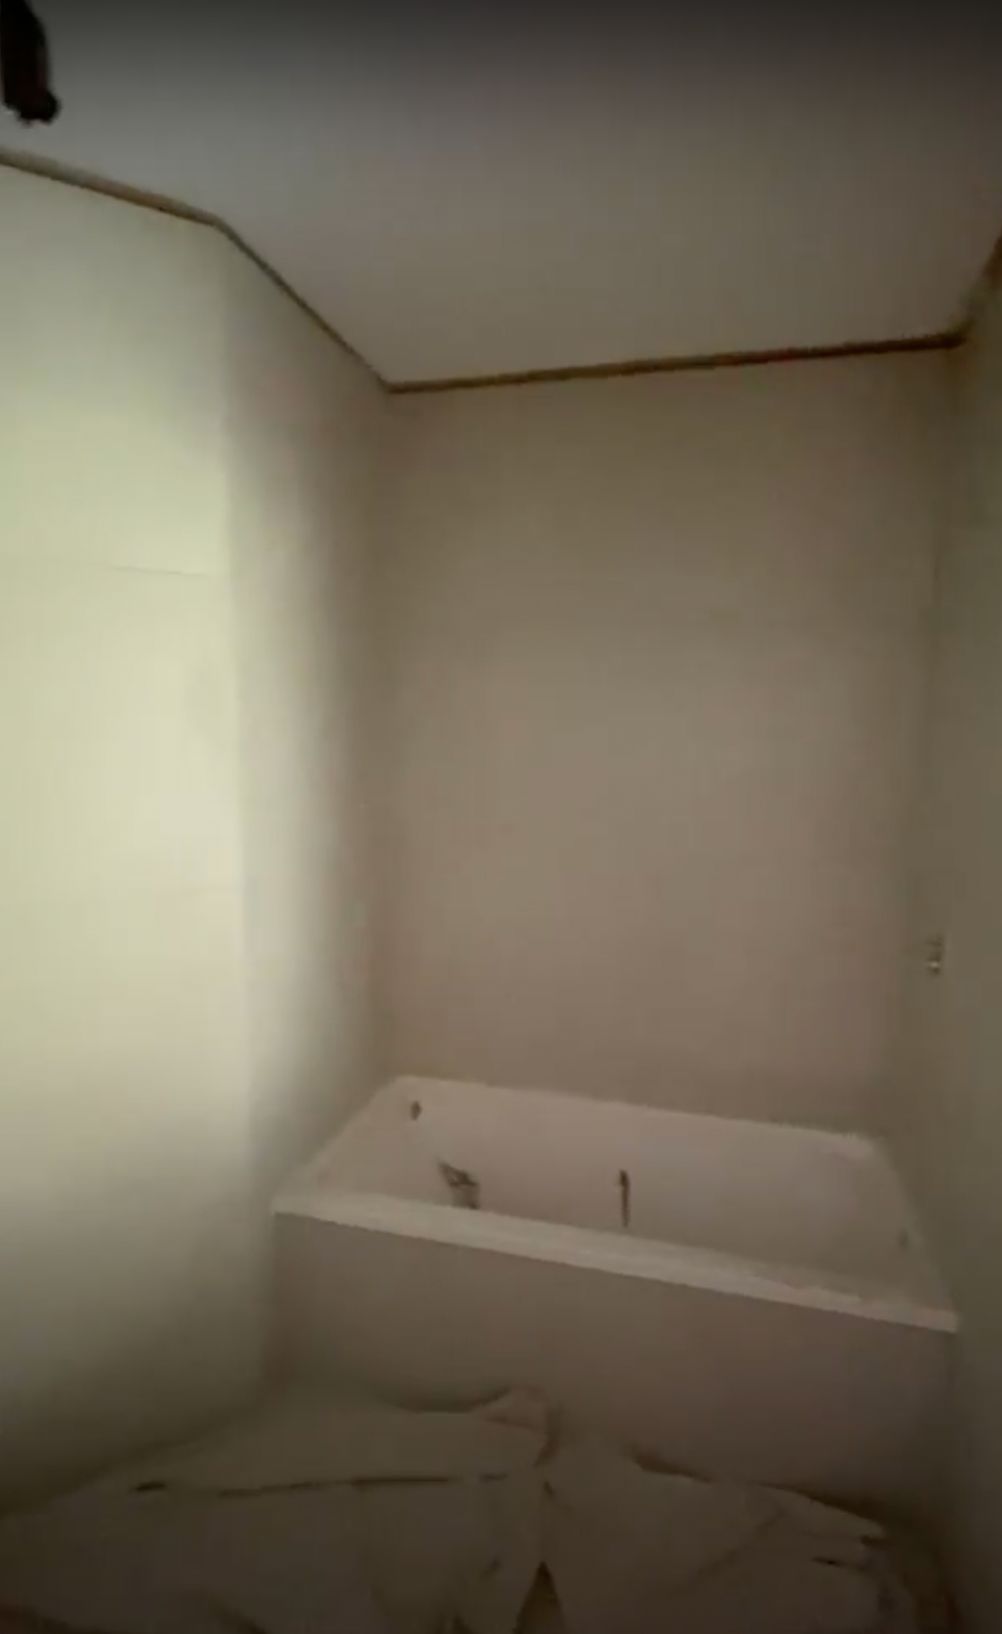
We selected a large light grey tile for the floors and wrapped them up the walls in the bathrooms - again, for a streamlined look that was budget-friendly. We "zhuzhed" things up with some subtle feature lighting - nothing over-the-top, but still added some extra personality.
In the laundry we used the same gorgeous zellige tile for the splashback and added overhead cabinetry for extra storage to maximise the functionality in this small space.
Keep your eyes peeled for the next instalment of this project recap - the living room, bedrooms, and dining are next when we talk all-things furnishings!